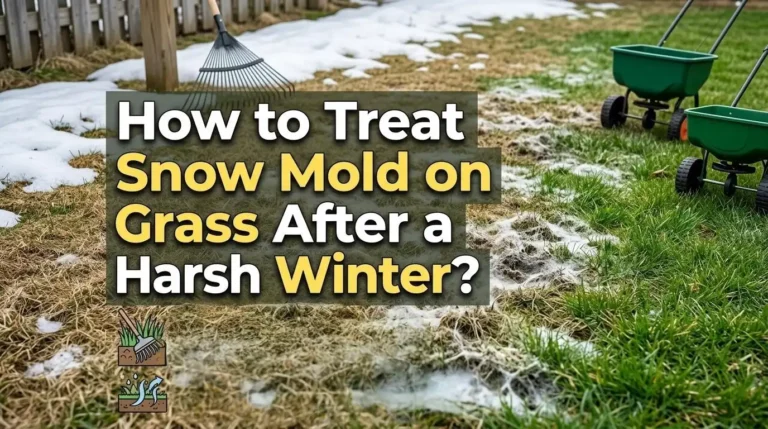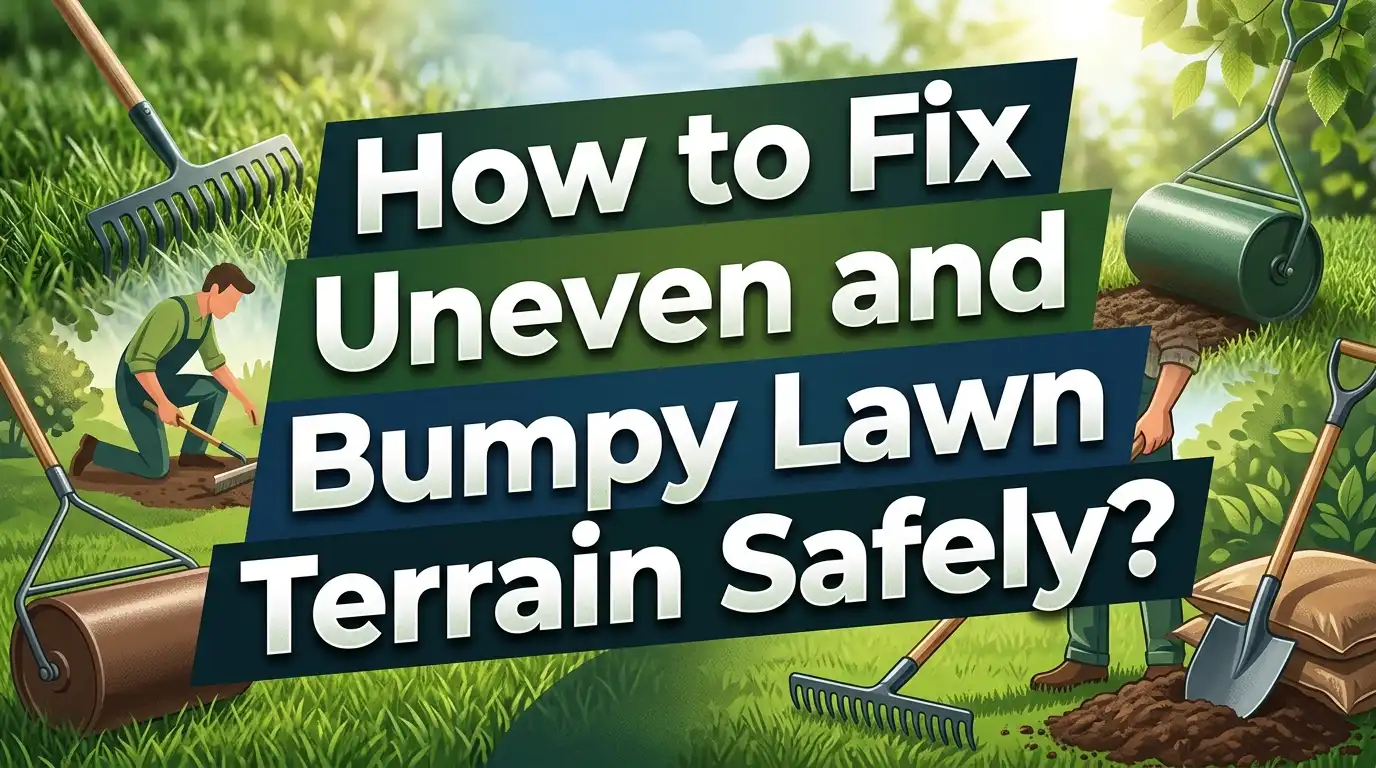
How to Fix Uneven and Bumpy Lawn Terrain Safely?
A bumpy lawn is more than just an eyesore. It creates tripping hazards for your family, damages your mower blades, causes poor water drainage, and kills patches of grass. You step outside hoping to enjoy your yard, and instead, you feel like you are walking across a field of hidden speed bumps. Sound familiar?
The good news is that fixing an uneven lawn does not require heavy machinery or a professional landscaping crew in most cases.
This guide walks you through every cause, every solution, and every precaution so you can turn that lumpy mess into a smooth, healthy lawn you are proud of.
You will learn exactly what causes bumps, how to diagnose the specific problem in your yard, and which repair method works best for each situation. By the end of this post, you will have a clear, actionable plan to reclaim your lawn.
Key Takeaways
- Identify the cause before you fix the symptom. Bumps return quickly if you do not address the root problem first. Frost heaving, burrowing animals, poor drainage, and compacted soil each require a different approach. A quick visual inspection and soil probe can tell you a lot about what is happening beneath the surface.
- Topdressing is the safest and most effective method for minor bumps. A mix of topsoil, sand, and compost applied in thin layers (no more than half an inch at a time) fills low spots without smothering your grass. This approach works well for shallow depressions under one inch deep.
- Avoid heavy lawn rollers on established lawns. While rollers seem like the obvious fix, they compact soil and choke grass roots. Most lawn care experts advise against rolling unless the ground is freshly thawed and very lightly bumpy. Topdressing and aeration produce better long term results.
- Timing matters. The best time to level a lawn is during the active growing season for your grass type. For cool season grasses, early fall or spring works best. For warm season grasses, late spring through early summer is ideal.
- Prevention saves time and money. Regular aeration, consistent overseeding, alternating mowing patterns, and staying off wet lawns will prevent most bumps from forming in the first place.
- Deep depressions need sod removal. Any area that has sunk more than one inch requires you to lift the existing turf, backfill with soil, and then replace or reseed the section.
What Causes an Uneven and Bumpy Lawn
Understanding the cause is the first and most important step. Frost heaving is one of the most common causes, especially in regions with cold winters. When soil freezes and thaws unevenly, it pushes the ground upward in random spots. Clay soils are especially prone to this problem because they hold more moisture.
Burrowing animals such as moles, voles, and gophers create tunnels and mounds that distort the surface of your lawn. Grubs living beneath the soil attract these animals, so a grub problem often leads to a bumping problem. Pets that like to dig also contribute to the issue.
Foot traffic and heavy equipment leave ruts and depressions over time. If you mow in the same direction every week, your mower wheels will gradually create visible tracks. Walking across a soggy lawn after rain or during spring thaw pushes soft soil down and creates uneven patches.
Tree roots that grow close to the surface lift the turf and create raised bumps that get worse each year. Even trees in a neighbor’s yard can send roots under your lawn. Additionally, natural soil settling occurs on every property over time, and new construction sites often see dramatic settling in the first few years.
How to Diagnose the Problem in Your Yard
Before you grab a shovel or bag of topsoil, spend some time diagnosing the specific issue. Walk your entire lawn slowly and pay attention to the pattern of bumps. Random, scattered bumps often point to frost heaving or animal activity. Long, consistent ruts usually mean mower tracks or foot traffic damage.
Push a screwdriver or soil probe into the bumps. If you hit something hard like a rock or buried debris, that object is likely pushing the ground up. If the probe slides in easily, the bump is probably caused by soil expansion or animal tunnels beneath the surface.
Look for visible signs of animal activity such as small entry holes, raised ridges running in lines, or soft spots that collapse when you step on them. Mole tunnels feel spongy underfoot. Vole damage usually appears as surface trails visible after snow melts in spring.
Check your lawn’s drainage patterns after a rain. Water pooling in certain areas tells you where low spots exist. These low spots may look like bumps surround them, but the real issue is that the depression collects water and kills the grass, making the surrounding healthy turf seem raised by comparison.
The Best Time to Level Your Lawn
Timing your repair work correctly gives you the best chance of success. The ideal window depends on your grass type. Cool season grasses like Kentucky bluegrass, fescue, and ryegrass recover fastest in early fall (September through October) or early spring (April through May). Warm season grasses like Bermuda, zoysia, and St. Augustine respond best in late spring through early summer (May through June).
Avoid leveling during extreme heat or drought. Your grass needs active growth to recover from the stress of topdressing, filling, or sod work. Leveling a dormant lawn means the soil sits exposed, inviting weeds and erosion.
Spring offers some advantages because the soil is soft and easy to work with. However, spring also carries risk. The ground may still be saturated from snowmelt, and walking on soggy soil creates new depressions. Wait until the soil has dried enough that your footprints do not sink more than a quarter inch.
Fall is often the safest choice for cool season lawns. The soil is warm, moisture levels are moderate, and the grass enters a period of strong root growth that helps it recover quickly from leveling work.
How to Fix Small Bumps With Topdressing
Topdressing is the gold standard method for fixing shallow bumps and depressions less than one inch deep. The process involves spreading a thin layer of soil mix over the uneven areas and allowing the grass to grow through it. This is the safest approach because it does not disturb existing roots.
Start by mowing the affected area very short, about one to one and a half inches. This makes it easier to see the contours of the ground and ensures the topdressing material reaches the soil surface. Remove any clippings and debris.
Prepare your leveling mix by combining topsoil, coarse sand, and compost. A common and effective ratio is 40% sand, 40% topsoil, and 20% compost. The sand improves drainage, the topsoil provides structure, and the compost adds nutrients. Mix these together thoroughly in a wheelbarrow until you get a uniform blend.
Spread the mix over the low areas using a flat shovel or landscape rake. Apply no more than half an inch at a time. Push the material into depressions and use the back of a rake to smooth it level. You want the grass blades still poking through the topdressing. If you bury the grass completely, it will die.
Water the area lightly after application. Repeat the process every four to six weeks during the growing season until the lawn reaches your desired level.
How to Repair Deep Depressions and Holes
Depressions deeper than one inch require a more involved approach. Simple topdressing will not work because a thick layer of soil will smother the grass beneath it. For these deeper areas, you need to lift the turf, fill the void, and replace the sod.
Use a flat spade or sod cutter to cut the turf around the depression. Cut in a square or rectangular pattern slightly larger than the low spot. Carefully peel back the sod and set it aside on a shady, moist surface so it stays alive during the repair.
Examine the exposed soil. Look for buried debris, rocks, or old tree roots that might be causing the problem. Remove anything that does not belong. If animal tunnels are present, collapse them and pack the soil firmly.
Fill the depression with quality topsoil, tamping it down in layers to prevent future settling. Leave the fill slightly higher than the surrounding grade because the new soil will compact over time. A quarter inch above grade is a good target.
Replace the sod, press it firmly into contact with the new soil, and water it deeply. Keep the repaired area moist for the first two weeks. Avoid heavy foot traffic on the patch for at least three weeks to let the roots reestablish.
Should You Use a Lawn Roller
Lawn rollers seem like the obvious solution for bumpy terrain, and many homeowners reach for one first. However, most lawn care professionals advise against using rollers on established lawns. The reason is simple: a roller heavy enough to flatten bumps also compacts the soil beneath the grass.
Compacted soil prevents water, air, and nutrients from reaching the roots. This leads to thin, weak turf that is more likely to develop new bumps and bare patches. The fix becomes the cause of the next problem.
There are a few situations where a light roller can help. If your lawn experienced mild frost heaving and the bumps are soft and shallow, a water filled roller at about one third capacity can gently press the soil back into place. This works best in early spring when the ground is still slightly moist.
Never use a roller on dry, hard ground. It will not flatten the bumps and will only damage the grass. Never use a roller on saturated soil either, as this causes extreme compaction. If you do choose to roll, limit it to one or two passes and follow up with aeration within a few weeks to relieve the compaction you created.
How Aeration Helps Fix Bumpy Lawns
Core aeration is one of the most underrated tools for improving bumpy lawns. An aerator pulls small plugs of soil from the ground, leaving holes that allow water, air, and nutrients to penetrate deeper into the root zone. This process also relieves compaction and helps the soil settle more evenly over time.
Aeration alone will not level a severely uneven lawn. But it works extremely well as a companion treatment alongside topdressing. When you aerate before topdressing, the leveling mix fills the aeration holes and integrates with the existing soil much more effectively.
For clay soils prone to frost heaving, regular annual aeration reduces the severity of bumps each spring. Loosened soil freezes and thaws more uniformly, which means less dramatic heaving. Over two to three seasons of consistent aeration, many homeowners see a significant reduction in bumpiness.
The best time to aerate matches the best time to level: during the active growing season for your grass type. Aerate when the soil is moist but not soggy. You can rent a core aerator from most equipment rental centers. Make two passes over the lawn in perpendicular directions for the best coverage.
How to Handle Bumps Caused by Tree Roots
Tree roots that push through the lawn surface present a unique challenge. You cannot simply cut the roots without risking damage to the tree. Major roots support the tree’s stability and health, and removing them can cause the tree to decline or even fall.
For minor surface root bumps, the best solution is to add soil over the roots gradually. Apply no more than one inch of topsoil per year over the affected area. This slow buildup allows the grass to adjust and avoids burying the tree’s root flare, which can cause rot.
If roots have created severe bumps that are more than two inches high, consider converting that area to a mulch bed or shade garden instead of fighting the roots with grass. A ring of mulch around the base of the tree (extending to the drip line) eliminates the mowing problem and gives the roots room to grow without damaging your lawn.
For roots coming from a neighbor’s tree, you have the legal right in most areas to trim roots that cross your property line. However, proceed with caution. Cutting major structural roots can make the tree unstable and create a liability issue. Consult an arborist before cutting any root larger than two inches in diameter.
How to Fix Lawn Bumps From Animal Damage
Animals create some of the most frustrating lawn problems. Moles dig tunnels that raise ridges across the surface. Voles create shallow trails visible just under the turf. Gophers push up mounds of dirt. Even well meaning squirrels bury nuts and leave small divots everywhere.
Address the animal problem first before repairing the lawn. If you fix the surface without removing the cause, the damage will return within weeks. For moles, reducing their food source (grubs) is the most effective long term strategy. Apply a grub control treatment in late summer or early fall to break the cycle.
For active mole tunnels, step on the raised ridges to collapse them. Water the area and press the soil down firmly. If the tunnels reappear within 48 hours, the tunnel is still active. Trapping is the most reliable method for removing moles, though many homeowners prefer to hire a wildlife control professional.
Once the animals are gone, repair the damage by raking the disturbed soil level. Fill any remaining depressions with topsoil and tamp it down. Overseed the bare spots with a grass seed that matches your existing lawn. Keep the repaired areas moist until new grass is established, which usually takes two to three weeks.
How to Prevent Bumps From Coming Back
Prevention is always easier and cheaper than repair. The single best defense against a bumpy lawn is a thick, healthy turf. Dense grass with strong roots resists settling, hides minor imperfections, and recovers faster from damage.
Alternate your mowing pattern every time you mow. If you mowed north to south last week, mow east to west this week. This prevents wheel ruts from forming and encourages the grass to grow upright rather than leaning in one direction.
Stay off the lawn when the soil is wet. This is especially important in spring when the ground is saturated from snowmelt or heavy rain. Every footstep on soggy soil creates a small depression. Multiply that by dozens of trips across the yard and you have a bumpy lawn by summer.
Aerate your lawn at least once per year. For clay soils or lawns with heavy foot traffic, aerate twice per year. This keeps the soil loose, improves drainage, and reduces the severity of frost heaving. Combine aeration with overseeding and fertilizing for the best results.
Keep an eye out for early signs of pest activity. Grub damage, mole ridges, and vole trails are all easier to address when caught early. A proactive grub treatment in late summer prevents the chain reaction of grubs attracting moles, which create tunnels, which create bumps.
Tools and Materials You Need for Lawn Leveling
Having the right tools makes the job faster and safer. You do not need expensive professional equipment to level a residential lawn. Most of what you need is available at any garden center or home improvement store.
A landscape rake (also called a leveling rake) is your primary tool. Its wide, flat design helps spread topdressing material evenly across the lawn. A standard garden rake works for small areas but lacks the width and precision for larger jobs.
You will need a flat shovel for scooping and spreading soil mix, a wheelbarrow for transporting materials, and a garden hose or sprinkler for watering after application. If you plan to lift sod for deeper repairs, a flat spade or half moon edger makes clean cuts.
For the leveling mix, you need coarse sand (mason sand or sharp sand), quality screened topsoil, and finished compost. Avoid using fine play sand, as it compacts too easily and creates drainage problems. Calculate your material needs based on the area and depth of fill required. A cubic yard of leveling mix covers roughly 650 square feet at half an inch deep.
For safety, wear sturdy footwear with good traction, especially when working on slopes. Use knee pads if you spend time working at ground level. Protect your back by bending at the knees when lifting bags of soil or sand.
Safety Precautions for Lawn Leveling Work
Lawn leveling seems like a low risk activity, but injuries happen when people rush or ignore basic safety rules. Back strain is the most common injury associated with lawn work. Bags of sand and topsoil weigh 40 to 50 pounds each, and a typical leveling project requires many bags.
Lift with your legs, not your back. Keep bags close to your body and avoid twisting while carrying heavy loads. If you need to move large quantities of material, have it delivered in bulk and dumped close to your work area rather than hauling individual bags from a vehicle.
Stay hydrated and take breaks, especially during warm weather. Heat exhaustion can sneak up on you during physical outdoor work. Work during the cooler parts of the day, such as early morning or late afternoon.
Watch for underground utilities before digging. If your repair involves removing sod or digging more than a few inches deep, call your local utility locating service (811 in the United States) at least a few days before you start. Hitting a gas line or buried electrical cable can cause serious injury.
Check the slope and drainage direction of your yard before adding fill material. You do not want to redirect water flow toward your foundation or a neighbor’s property. Maintain a gentle slope away from all structures, ideally dropping about one inch per four feet of distance.
When to Call a Professional
Some lawn problems go beyond what a weekend DIY project can fix. If your yard has severe grading issues where water flows toward your home’s foundation, you need a professional to regrade the landscape properly. Improper grading can cause basement flooding and structural damage.
Large scale unevenness across the entire property often requires a skid steer or bobcat to redistribute soil effectively. Renting and operating this equipment without experience can be dangerous and may cause more damage to your lawn.
Persistent drainage problems that create standing water for more than 24 hours after rain may require a French drain, dry well, or other subsurface drainage solution. These installations involve trenching, pipe placement, and gravel backfill that a professional can complete in a fraction of the time.
If your bumps are caused by a failing retaining wall, eroding hillside, or shifting soil from construction nearby, a landscape engineer or geotechnical specialist should evaluate the situation. These structural issues will only get worse without professional intervention, and they can affect the safety of your home.
A good rule of thumb: if the project requires more than a few cubic yards of soil or involves changes to drainage patterns, professional help is worth the investment.
Frequently Asked Questions
Can I level my lawn with just sand?
Sand alone is not recommended for lawn leveling. Pure sand does not contain nutrients, and it can create a layering problem where the sand sits on top of your existing soil without blending properly. A mix of sand, topsoil, and compost works much better because it provides drainage, structure, and nutrition. The ideal ratio is roughly 40% sand, 40% topsoil, and 20% compost. This blend integrates with your existing soil and supports healthy grass growth.
How long does it take for grass to grow through topdressing?
Grass typically grows through a thin layer of topdressing within one to two weeks during the active growing season. If you applied the correct amount (half an inch or less), the grass blades should be visible within a few days. Full recovery to a uniform appearance usually takes three to four weeks. Applying too thick a layer will slow this process significantly or kill the grass entirely.
Will aerating my lawn make it more bumpy?
Aeration temporarily leaves small holes and soil plugs on the surface, which can make the lawn look rough for a week or two. However, the plugs break down naturally with rain and mowing. Over time, aeration actually reduces bumpiness by relieving compaction and allowing the soil to settle more evenly. The short term cosmetic impact is well worth the long term smoothness.
How many times do I need to topdress to level my lawn?
Most lawns need two to four rounds of topdressing spread across one or two growing seasons to achieve a smooth surface. Each application should be no more than half an inch thick. Severely uneven lawns may require additional rounds. Patience is important because rushing the process by applying too much material at once will smother your grass.
Is it safe to level a sloped lawn on my own?
Gentle slopes are safe to level with standard DIY methods. However, steep slopes require extra caution. Working on wet, sloped ground creates a slip hazard. Heavy equipment can slide downhill. If the slope exceeds a 3:1 ratio (dropping one foot for every three feet of horizontal distance), consider hiring a professional. Also ensure that any changes to a slope do not redirect water toward structures or neighboring properties.
What is the best grass seed for overseeding after leveling?
Choose a grass seed that matches your existing lawn. For cool season lawns, a blend of Kentucky bluegrass and perennial ryegrass provides fast germination and good fill. For warm season lawns, Bermuda grass seed or zoysia plugs work well. Always check the seed label for the variety, germination rate, and weed seed percentage. Look for seed with less than 0.5% weed content for the best results.
Hi, I’m Jane! As a passionate gardener and product enthusiast, I spend my days testing garden tools, comparing products, and writing honest reviews so you don’t have to learn the hard way. Got a question? Feel free to reach out — I’d love to hear from you!