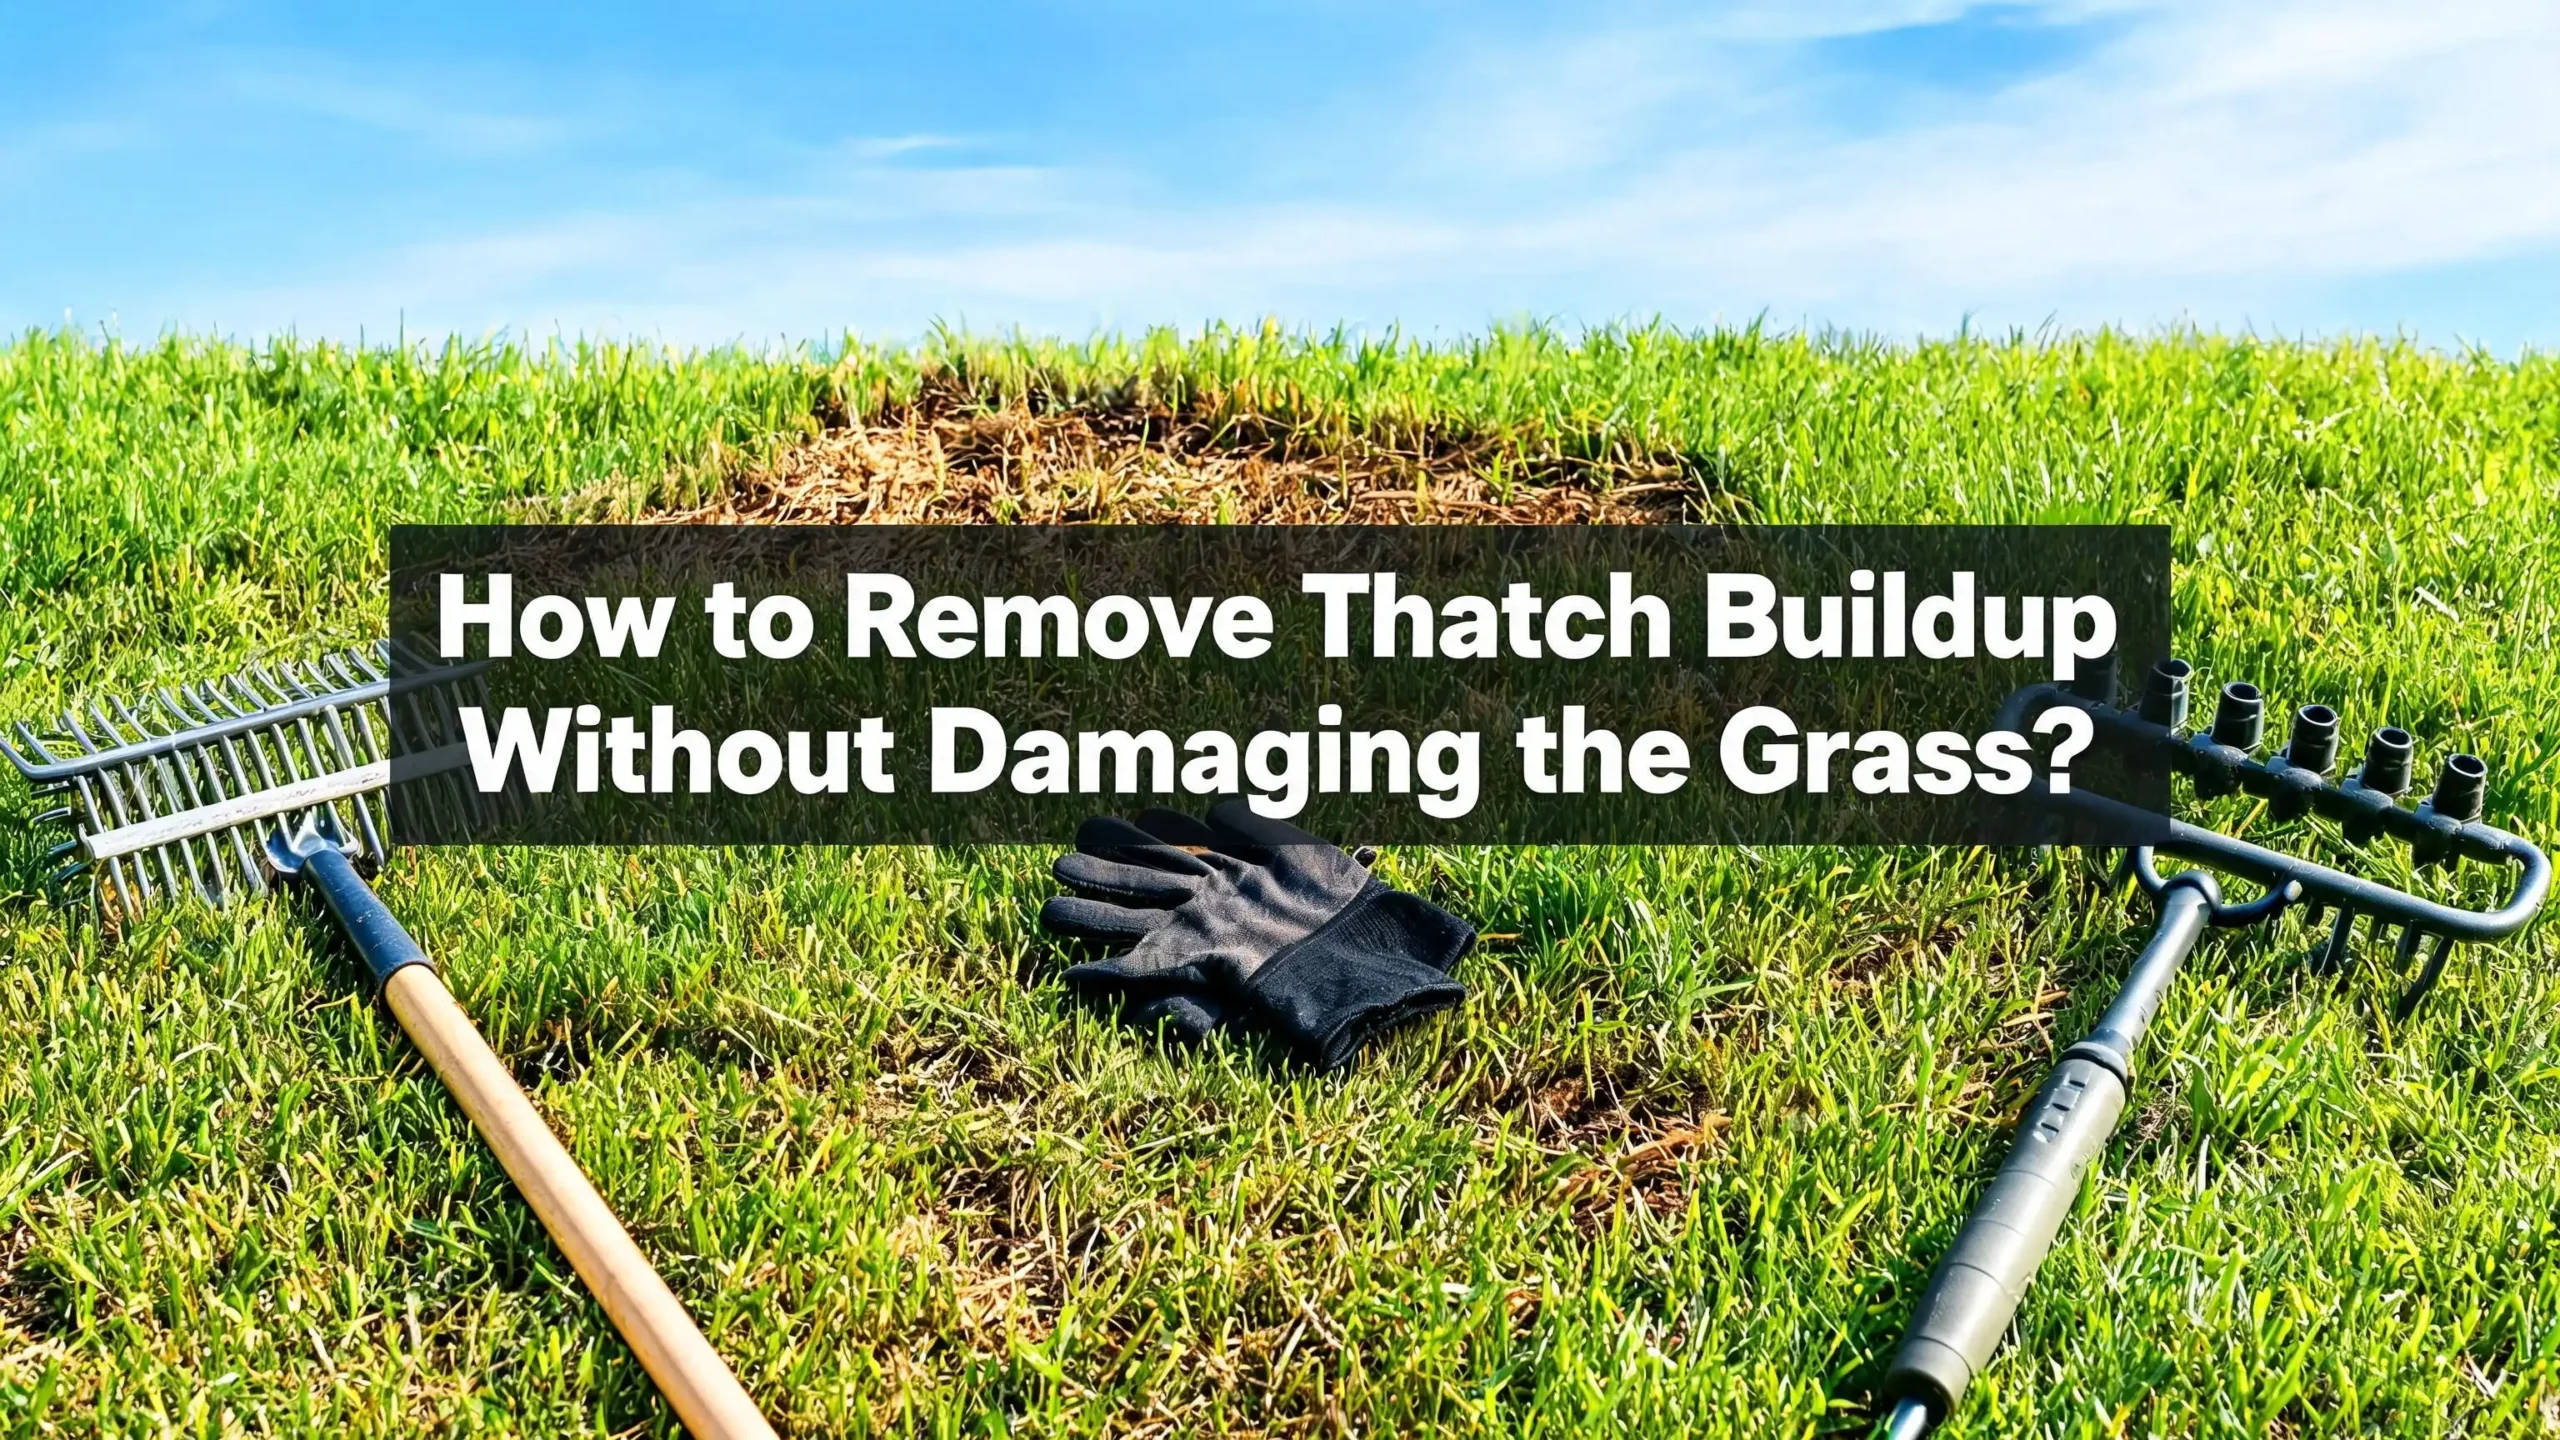
How to Remove Thatch Buildup Without Damaging the Grass?
Thatch is a layer of dead and living organic material that sits between the green grass blades and the soil surface. A thin layer of thatch, about half an inch or less, actually helps your lawn. It insulates the soil, holds moisture, and protects grass roots.
But once that layer grows beyond half an inch, it becomes a serious problem. Thick thatch blocks water, nutrients, and air from reaching the roots. It creates a breeding ground for pests and diseases. The good news? You can remove thatch safely without ripping your lawn apart.
This guide walks you through every step of the process, from identifying the problem to restoring your lawn after treatment. You will learn the right tools, the right timing, and the right techniques to get your grass back to full health.
In a Nutshell
- A thatch layer thicker than half an inch causes harm to your lawn. It blocks water, air, and nutrients from reaching the root zone. Check your thatch depth at least once a year by cutting a small wedge of turf and measuring the brown spongy layer between the green grass and the soil.
- Timing matters more than the method you choose. Dethatch cool season grasses like Kentucky bluegrass in late summer or early fall. Dethatch warm season grasses like Bermudagrass in late spring or early summer. Always dethatch during active growth periods so the grass recovers quickly.
- You have three main tools for dethatching: manual rakes, power rakes, and vertical mowers. Manual rakes work for small lawns with light thatch. Power rakes handle medium thatch on larger lawns. Vertical mowers cut through heavy thatch layers of one inch or more.
- Core aeration is your best long term defense against thatch buildup. It breaks up compacted soil, increases microbial activity, and physically removes small plugs of thatch. Annual or biannual aeration can prevent thatch from returning after removal.
- Aftercare determines whether your lawn bounces back or struggles. Water deeply after dethatching, apply a light fertilizer, overseed thin spots, and adjust your mowing height. These steps help the grass recover and fill in any bare patches left behind.
- Prevention saves you from repeated heavy dethatching sessions. Avoid excessive nitrogen fertilizer, reduce unnecessary pesticide use, test and correct your soil pH, and choose grass varieties that produce less thatch.
What Exactly Is Lawn Thatch and Why Does It Form
Thatch is a tightly packed layer of dead stems, roots, crowns, and runners that collects between the soil surface and the green grass blades above. Many people think grass clippings cause thatch. That is a common myth. Grass clippings break down quickly and rarely contribute to thatch problems. The real culprits are the tougher parts of the grass plant that resist decay.
About 25 percent of thatch is made up of a compound called lignin. Lignin resists breakdown by soil microorganisms. This makes it one of the main reasons thatch accumulates faster than it decomposes. The rest of the thatch contains cellulose and hemicellulose, which break down more easily but still add to the layer over time.
Certain grass types produce more thatch than others. Kentucky bluegrass, Bermudagrass, creeping red fescue, and Zoysiagrass are heavy thatch producers because they spread through rhizomes or stolons. These underground and aboveground runners create large amounts of stem tissue. In contrast, bunch type grasses like tall fescue and perennial ryegrass produce very little thatch.
Soil conditions play a big role too. Acidic soils with a pH below 5.5 slow down the microorganisms that decompose organic matter. Compacted soils limit oxygen flow, which also reduces microbial activity. Heavy use of nitrogen fertilizer pushes the grass to produce more root and stem tissue than microbes can process. The result is a growing layer of thatch that chokes your lawn from beneath.
How to Check If Your Lawn Has a Thatch Problem
Before you grab any tools, confirm that thatch is actually the issue. Many lawn problems look similar, and you do not want to dethatch a lawn that does not need it. The process is simple and takes less than five minutes.
Grab a garden trowel or a small spade. Push it into the lawn and remove a wedge shaped section about two to three inches deep. Pull it out carefully so you can see the layers. You will notice the green grass on top, a brownish spongy layer in the middle, and soil at the bottom. That brown middle layer is thatch.
Measure the thatch layer with a ruler. If it is half an inch or less, your lawn is healthy and does not need dethatching. If the layer is between half an inch and one inch, you should start a management plan that includes aeration and adjusted lawn care practices. If the thatch exceeds one inch, you need to take active removal steps.
There are also physical signs you can observe without digging. A lawn with heavy thatch feels bouncy or spongy underfoot, almost like walking on a mattress. You may notice brown patches that do not respond to watering or fertilizer. Water may pool on the surface or run off instead of soaking in. Grass may appear thin and weak despite regular care. These are all strong indicators of excess thatch. Take samples from several spots across the lawn because thatch thickness can vary from one area to another.
The Best Time of Year to Dethatch Your Lawn
Timing is one of the most important factors in successful dethatching. Dethatch at the wrong time and your grass may not recover. Dethatch at the right time and your lawn will bounce back within weeks.
For cool season grasses like Kentucky bluegrass, perennial ryegrass, and fescues, the best dethatching window is late August through early October. Temperatures start to cool down during this period. Rainfall increases in many regions. The grass enters a strong growth phase that helps it heal quickly from the stress of dethatching. Early spring is a secondary option, but fall is preferred because weed seeds are less likely to germinate and compete with recovering grass.
For warm season grasses like Bermudagrass, Zoysiagrass, and St. Augustine grass, dethatch in late spring or early summer. This is when warm season grasses hit their peak growth rate. They have the energy and the growing conditions needed to repair themselves after the process.
Never dethatch a dormant lawn. Dormant grass cannot grow new roots or shoots to replace what is removed. You will cause severe damage with very slow recovery. Also avoid dethatching during heat waves, drought, or periods of heavy pest pressure. The lawn is already stressed under these conditions, and adding the trauma of dethatching can push it past the point of recovery. Plan your dethatching around active growth periods and moderate weather for the best results.
Using a Manual Dethatching Rake for Small Lawns
A manual dethatching rake is the simplest and most affordable tool for thatch removal. It looks different from a standard leaf rake. Dethatching rakes have short, curved, sharp tines designed to dig into the thatch layer and pull it to the surface. They require physical effort but give you excellent control over how much thatch you remove.
This method works best for small lawns with light to moderate thatch, roughly half an inch to three quarters of an inch thick. If your lawn is larger than 1,000 square feet or your thatch is thicker than an inch, a manual rake will be exhausting and slow. Consider a power tool for bigger jobs.
To use a dethatching rake, work in one direction across the lawn with firm, even strokes. Press the tines down into the thatch layer but avoid digging into the soil. Pull the rake through the grass and watch the dead material come up to the surface. After you finish one direction, go over the lawn again at a 90 degree angle. This crosshatch pattern ensures thorough thatch removal without over stressing any single area.
Rake up all the debris after each pass. Leaving thatch on the surface blocks sunlight and air from reaching the grass below. Use a standard leaf rake or a lawn vacuum to collect the material. You can compost the thatch debris or use it as mulch in garden beds. It breaks down over time and adds organic matter to the soil. After raking, water the lawn deeply to help the grass recover from the process.
Power Raking: A Faster Option for Medium Thatch
Power rakes are motorized machines that resemble push mowers. They have rotating wire or spring tines that spin at high speed and dig into the thatch layer. Power rakes pull thatch up to the surface much faster than manual raking. You can rent them from most equipment rental stores during the dethatching season.
This tool works well for lawns with a thatch layer between half an inch and one inch. Power rakes cover more ground in less time than a manual rake. They are especially useful for medium to large lawns where hand raking would take hours. However, power rakes can be aggressive. They may pull up healthy grass along with the thatch if the settings are too deep.
Before starting, mow your lawn to about half its normal height. This makes it easier for the power rake to reach the thatch layer. Set the tines so they just touch the thatch without digging deep into the soil. Make one pass across the lawn, then evaluate the results. If significant thatch remains, make a second pass at a 90 degree angle to the first.
Flag any sprinkler heads, shallow utility lines, or landscape borders before you begin. The spinning tines can catch and damage these features. Move slowly and steadily across the lawn. Rushing creates uneven results and increases the risk of tearing out live grass. After power raking, collect all debris from the lawn. The volume of pulled up thatch can be surprising. Water the lawn thoroughly and consider a light application of fertilizer to encourage recovery.
Vertical Mowing for Heavy Thatch Layers
Vertical mowers, also called verticutters, are the most powerful dethatching tools available. They use sharp steel blades that rotate perpendicular to the soil surface. These blades slice down through the thatch layer and into the top of the soil, pulling thatch and sometimes grass roots to the surface.
Use a vertical mower when thatch has reached one inch or more in depth. At this level, lighter tools like rakes and power rakes cannot remove enough material to solve the problem. Vertical mowers are available for rent at equipment dealers. Many professional lawn care companies also offer verticutting services.
Start with a conservative blade depth setting. Set the blades high on your first pass and remove only a small amount of thatch. This lets you see how much material is coming up and how thin the grass is getting. If the lawn can handle more, lower the blades slightly and make a second pass. Removing too much thatch in one session can strip the lawn bare, especially if the grass has rooted primarily in the thatch layer rather than the soil below.
For very heavy thatch of two inches or more, plan to dethatch in stages. Remove some thatch now and come back in a few weeks for another session. This gives the grass time to recover between treatments. Set vertical mower blades so they bring a small amount of soil to the surface along with the thatch. This mixes soil microbes into the thatch layer and accelerates decomposition of any remaining material. After vertical mowing, the lawn may look rough and thin. That is normal. With proper aftercare, it will fill in within a few weeks.
Why Core Aeration Works Hand in Hand With Dethatching
Core aeration is one of the most effective tools for both preventing and reducing thatch buildup. An aerator pulls small plugs of soil and thatch out of the ground. These holes allow water, air, and nutrients to penetrate past the thatch barrier and reach the root zone.
The soil cores left on the surface serve a dual purpose. As they break apart, they mix soil microorganisms into the thatch layer. These microbes accelerate thatch decomposition from within. Research shows that aeration alone removes about 10 percent of thatch in a single session. Combined with improved microbial activity, the long term impact is much greater.
Aerate your lawn before dethatching if the soil is heavily compacted. Compacted soil prevents roots from growing deep. It also limits the oxygen supply that thatch decomposing organisms need. By aerating first, you loosen the soil and create better conditions for both the grass and the microbes. Then follow up with dethatching for maximum thatch removal.
The best time to aerate mirrors the best time to dethatch. Late summer through early fall for cool season grasses. Late spring for warm season grasses. Run the aerator over the lawn multiple times in different directions for the most thorough results. Use a machine with hollow tines, not solid spikes. Solid spike aerators push soil sideways and can actually increase compaction. Hollow tine aerators remove soil plugs, which creates real space for roots to expand and microbes to thrive.
How to Overseed and Restore Your Lawn After Dethatching
Dethatching can leave your lawn looking thin, patchy, and rough. This is completely normal. The bare spots and thin areas are actually perfect conditions for overseeding. The exposed soil gives grass seed direct contact with the ground, which improves germination rates significantly.
Choose a grass seed variety that matches your existing lawn. If you have Kentucky bluegrass, overseed with Kentucky bluegrass. If you have a fescue blend, use a similar blend. Mixing compatible grass types is fine and can actually improve your lawn’s resistance to disease and drought. Spread the seed evenly using a broadcast or drop spreader at the rate listed on the seed label.
After spreading seed, apply a thin layer of compost or topsoil over the seeded areas. This light topdressing protects the seed from birds, wind, and sun while holding moisture around the seed for better germination. Keep the seeded areas consistently moist for the first two to three weeks. Water lightly once or twice daily rather than soaking the ground. Once seedlings are established and about two inches tall, gradually reduce watering frequency and increase the depth.
Avoid heavy foot traffic on newly seeded areas. Young grass plants are fragile and can be crushed easily. Wait until the new grass has been mowed at least two or three times before resuming normal activity on the lawn. Fertilize lightly about four weeks after overseeding to support the new growth. This combination of overseeding, topdressing, and careful watering transforms a rough, dethatched lawn into a thick, healthy stand of grass within one to two months.
Adjusting Your Watering Habits to Prevent Thatch Return
Improper watering is one of the hidden drivers of thatch buildup. Frequent, shallow watering encourages grass roots to stay near the surface in the thatch layer rather than growing deep into the soil. This makes the thatch problem worse over time because roots growing in thatch add more organic material to the layer.
The solution is to water deeply but less often. Instead of watering for 10 minutes every day, water for 30 to 45 minutes two or three times per week. This pushes moisture deep into the soil and encourages roots to follow. Deep roots grow in the soil rather than the thatch, which reduces thatch production and creates a more drought resistant lawn.
Watch for signs of overwatering. If water puddles on the surface or runs off before soaking in, the soil may be saturated or the thatch layer may be repelling the water. In this case, use a cycle and soak method. Water for 10 minutes, pause for 30 minutes to let the water absorb, then water for another 10 minutes. This helps moisture penetrate through thatch into the soil below.
Morning watering is ideal. Watering early in the day gives the grass time to dry before evening. Wet grass overnight creates favorable conditions for fungal diseases, which weaken the lawn and slow thatch decomposition. A well watered lawn with deep root growth produces less thatch and breaks down existing thatch more efficiently through healthy microbial activity in the soil.
The Role of Soil pH and Fertilization in Thatch Control
Soil chemistry has a direct impact on thatch buildup. Acidic soils with a pH below 5.5 suppress the microorganisms responsible for breaking down thatch. When these microbes are inactive, organic debris accumulates faster than it decomposes. The thatch layer grows thicker every season.
Test your soil every three to four years through your local extension service or with a home test kit. If the pH is too low, apply lime according to the test recommendations. Lime raises soil pH and creates a better environment for thatch decomposing bacteria and fungi. It also improves nutrient availability for the grass, which promotes healthier growth overall.
Fertilization habits matter just as much as pH. Over applying nitrogen is one of the fastest ways to create a thatch problem. High nitrogen levels push the grass to produce excessive amounts of stem, root, and runner tissue. The microbes in the soil cannot keep up with this rapid production, and thatch builds up quickly.
Apply nitrogen at moderate rates based on your soil test results. For most home lawns, two to four pounds of nitrogen per 1,000 square feet per year is sufficient. Split this into multiple applications throughout the growing season rather than applying it all at once. Fall fertilization is generally better than heavy spring feeding because it promotes steady growth without the rapid flush that contributes to thatch. Slow release nitrogen sources are a smart choice because they feed the grass gradually over several weeks rather than dumping a large dose all at once.
Mowing Practices That Help Keep Thatch in Check
How you mow your lawn directly affects thatch buildup. The most important rule is the one third rule. Never cut more than one third of the grass blade height in a single mowing. If your target height is three inches, mow when the grass reaches four and a half inches. Cutting too low at once stresses the grass and disrupts the natural decomposition cycle.
Many homeowners worry that leaving grass clippings on the lawn causes thatch. This is a myth. Grass clippings are made of soft leaf tissue that decomposes quickly. They do not contribute to the tough, fibrous thatch layer. In fact, returning clippings to the lawn recycles nutrients and moisture back into the soil. A mulching mower chops clippings into fine pieces that filter down to the soil surface and break down even faster.
The exception is when clippings are excessively long. If you miss a mowing and the grass gets tall, clippings can form thick clumps on the surface. These clumps smother the grass beneath them and decompose slowly. In this case, bag the clippings or rake them up. Then get back on a regular mowing schedule.
Keep your mower blades sharp. Dull blades tear the grass instead of cutting it cleanly. Torn grass tips turn brown and are more susceptible to disease. Damaged grass diverts energy to healing rather than maintaining healthy growth, which can slow thatch decomposition indirectly. Sharpen your blades every 20 to 25 hours of mowing time, or roughly every one to two months during the growing season.
Topdressing Your Lawn to Speed Up Thatch Decomposition
Topdressing is the practice of spreading a thin layer of compost, sand, or a soil mix over the lawn surface. It is one of the most effective natural methods for accelerating thatch breakdown. The organic material in compost introduces beneficial microorganisms directly into the thatch layer. These microbes go to work breaking down the dead plant material from within.
Apply topdressing after aeration for the best results. The holes left by the aerator allow the topdressing material to drop into the root zone rather than sitting entirely on the surface. Use a shovel, wheelbarrow, and lawn leveling rake to spread the material evenly across the lawn. Aim for a layer about a quarter inch to half an inch thick. Spread it thin enough that the grass blades poke through.
Compost is the best topdressing material for thatch reduction. It is rich in beneficial bacteria, fungi, and other organisms that specialize in decomposing organic matter. Sand works well for improving drainage in clay soils, but it does not add the biological activity needed for thatch breakdown. A blend of compost and sand gives you the benefits of both improved drainage and microbial activity.
Topdress once or twice per year as part of a regular lawn maintenance program. Spring and fall are ideal times. Over several seasons, consistent topdressing reduces thatch layer thickness, improves soil structure, and creates a healthier growing environment for your grass. The organic matter also improves the soil’s ability to retain moisture and nutrients, which promotes deeper root growth and a stronger lawn overall.
Reducing Pesticide Use to Protect Thatch Decomposers
Many common lawn pesticides have an unintended side effect. They reduce populations of earthworms and soil microorganisms that naturally break down thatch. Earthworms are especially important because they burrow through the thatch layer, mixing it with soil and stimulating microbial activity. Certain insecticides significantly decrease earthworm populations, which leads to faster thatch accumulation.
Fungicides applied repeatedly over multiple years can also affect thatch levels. Some fungicides promote increased root and rhizome production in the grass. This creates more organic material that adds to the thatch layer. Others may reduce populations of beneficial soil fungi that help decompose thatch.
The solution is to use pesticides only when you have clearly identified a pest problem. Avoid preventative or routine applications of insecticides and fungicides unless a specific threat exists. Practice integrated pest management by encouraging natural predators, maintaining proper mowing and watering habits, and choosing disease resistant grass varieties.
If you do need to apply a pesticide, choose products that are less harmful to earthworms and soil biology. Read the label carefully and follow application rates exactly. Over application increases damage to the soil ecosystem without improving pest control. A healthy, well maintained lawn with active soil biology is your best defense against both pests and thatch. Over time, reducing chemical inputs creates a self sustaining cycle where natural decomposition keeps thatch in check and healthy grass crowds out weeds and resists disease.
Long Term Prevention Strategies to Keep Thatch Away
Preventing thatch from coming back is easier than removing it once it has built up. A combination of good lawn care habits will keep the thatch layer at a healthy thickness and save you from aggressive dethatching sessions in the future.
Start with grass variety selection. If you are planting a new lawn or overseeding, consider mixing in bunch type grasses like tall fescue or perennial ryegrass. These grasses produce far less thatch than aggressive spreaders like Kentucky bluegrass or Bermudagrass. A blend of grass types gives you density and coverage without excessive thatch production.
Aerate your lawn every one to two years. This single practice does more for long term thatch prevention than any other. It relieves compaction, increases oxygen levels in the soil, and mixes soil with thatch to promote decomposition. Schedule aeration during the same seasonal window you would use for dethatching.
Test your soil regularly and correct pH imbalances. Apply lime if the soil is too acidic. Maintain a balanced fertilization program that provides adequate nutrition without overstimulating growth. Water deeply and less frequently to promote deep root growth. Mow at the proper height and return clippings to the lawn. Topdress with compost once or twice a year to boost soil biology.
Each of these practices contributes to a healthy balance between thatch production and decomposition. Together, they create a lawn that maintains itself with minimal intervention. You will spend less time, money, and effort on thatch problems and more time enjoying a green, healthy lawn.
Frequently Asked Questions
Does leaving grass clippings on the lawn cause thatch buildup?
No. Grass clippings are composed of soft leaf tissue that breaks down quickly in the soil. They do not contribute to thatch, which is made up of tough stems, roots, and crowns that resist decomposition. Returning clippings to the lawn actually recycles nutrients and moisture. The only time you should bag clippings is when they form thick clumps after a missed mowing. Under normal conditions, leaving clippings on the lawn is both safe and beneficial.
How often should I dethatch my lawn?
Most lawns do not need annual dethatching. Check the thatch layer once a year by digging up a small section and measuring. If the thatch is under half an inch, no dethatching is needed. If it is between half an inch and one inch, focus on prevention strategies like aeration, proper fertilization, and topdressing. Only dethatch when the layer exceeds one inch and causes visible problems like poor water absorption or thin, weak grass.
Can I dethatch and aerate on the same day?
Yes. In fact, many lawn care professionals recommend doing both during the same session. Aerate first to loosen the soil, then dethatch to remove the excess organic layer. This combination is highly effective because the aeration holes improve the dethatching process and help the lawn recover faster. Follow up with overseeding and watering for the best results.
Will dethatching kill my grass?
Dethatching will not kill healthy, actively growing grass when done correctly and at the right time. The lawn may look rough and thin immediately after dethatching. This is normal. The grass recovers within two to four weeks during active growing seasons. The risks increase if you dethatch during dormancy, extreme heat, or drought, or if you remove too much thatch in a single session.
Is power raking the same as dethatching?
Power raking is one method of dethatching, but the two terms are not identical. Dethatching refers to the general process of removing thatch from a lawn using any tool. Power raking specifically uses a machine with rotating tines to pull thatch to the surface. Other dethatching methods include manual rakes and vertical mowers. Each tool suits different thatch thicknesses and lawn sizes.
How long does it take for grass to recover after dethatching?
Recovery time depends on the grass type, the amount of thatch removed, and the growing conditions. Most lawns recover fully within three to six weeks after dethatching during their peak growth period. Cool season grasses dethatched in early fall recover before winter dormancy. Warm season grasses dethatched in late spring fill in during summer’s fast growth. Proper watering, light fertilization, and overseeding speed up the process significantly.

Hi, I’m Jane! As a passionate gardener and product enthusiast, I spend my days testing garden tools, comparing products, and writing honest reviews so you don’t have to learn the hard way. Got a question? Feel free to reach out — I’d love to hear from you!